Postman请求后置脚本
Postman请求后置脚本教程
在我们使用 Postman 进行测试的时候,有时候需要在请求后做一些请求后的处理工作,这时候就需要我们在请求后执行一定的脚本程序。
Postman请求后置脚本使用
后置请求脚本是在请求发送之后执行的代码片段。对于后置请求脚本的使用一般有以下场景:
- 清理请求后的数据;
- 对返回的数据进行单元测试。
Postman后置脚本样例
// example using pm.response.to.have
pm.test("response is ok", function () {
    pm.response.to.have.status(200);
});
// example using pm.expect()
pm.test("environment to be production", function () {
    pm.expect(pm.environment.get("env")).to.equal("production");
});
// example using response assertions
pm.test("response should be okay to process", function () {
    pm.response.to.not.be.error;
    pm.response.to.have.jsonBody("");
    pm.response.to.not.have.jsonBody("error");
});
// example using pm.response.to.be*
pm.test("response must be valid and have a body", function () {
     // assert that the status code is 200
     pm.response.to.be.ok; // info, success, redirection, clientError,  serverError, are other variants
     // assert that the response has a valid JSON body
     pm.response.to.be.withBody;
     pm.response.to.be.json; // this assertion also checks if a body  exists, so the above check is not needed
});
案例
测试通过
Postman 测试脚本本质上是在发送请求后执行的 JavaScript 代码,我们可以通过访问 pm.response 对象获取服务器返回的报文。
我们在 Tests 标签页下输入以下代码:
pm.test("HaiCoder return OK", function () {
    pm.response.to.have.status(200);
});
如下图所示:
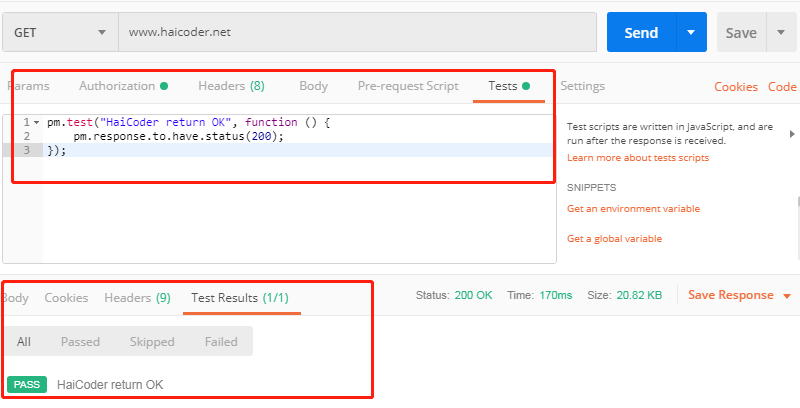
我们看到,返回的 Test Results 后面显示了 1/1,并且下面展示了 PASS,即测试通过。
测试失败
我们在 Tests 标签页下输入以下代码:
pm.test("HaiCoder return Error", function () {
    pm.response.to.have.status(404);
});
如下图所示:
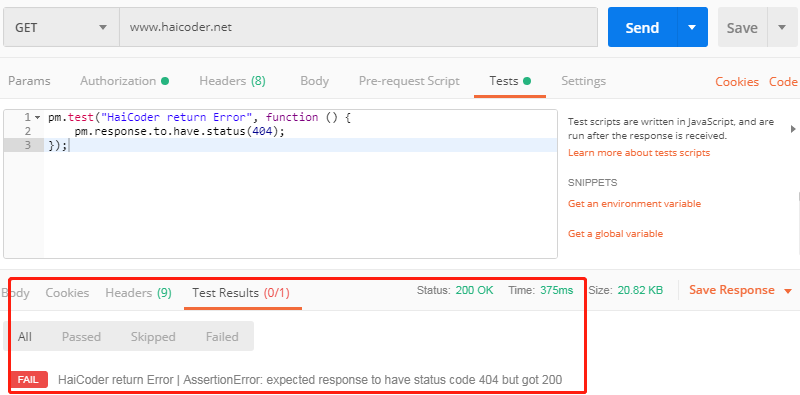
我们看到,返回的 Test Results 后面显示了 0/1,并且下面展示了 FAIL,即测试失败,并且显示了错误原因,我们期望的返回码是 404,结果返回了 200。
Postman请求后置脚本代码片段
为了更提高使用者的测试脚本编写效率,Postman提供了很多的代码片段,我们可以直接使用这些已经写好的代码片段来完成测试脚本的编写。
Postman 为我们提供的代码片段,如下图所示:
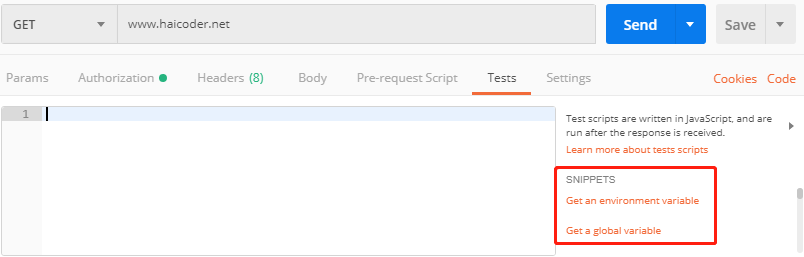
我们只需要,点击我们想要的代码片段,相应的代码就会自动填入 Tests 代码输入框。
Postman请求后置脚本总结
在我们使用 Postman 进行测试的时候,有时候需要在请求后做一些请求后的处理工作,这时候就需要我们在请求后执行一定的脚本程序。


